Perspective Grid CLIP STUDIO ASSETS
CLIP STUDIO PAINT Instruction manual - Displaying and Snapping to Grid Home > Explanation: Perspective ruler [PRO/EX] > Drawing by Snapping to a Perspective Ruler > Snapping to a Perspective Ruler > Displaying and Snapping to Grid Displaying and Snapping to Grid
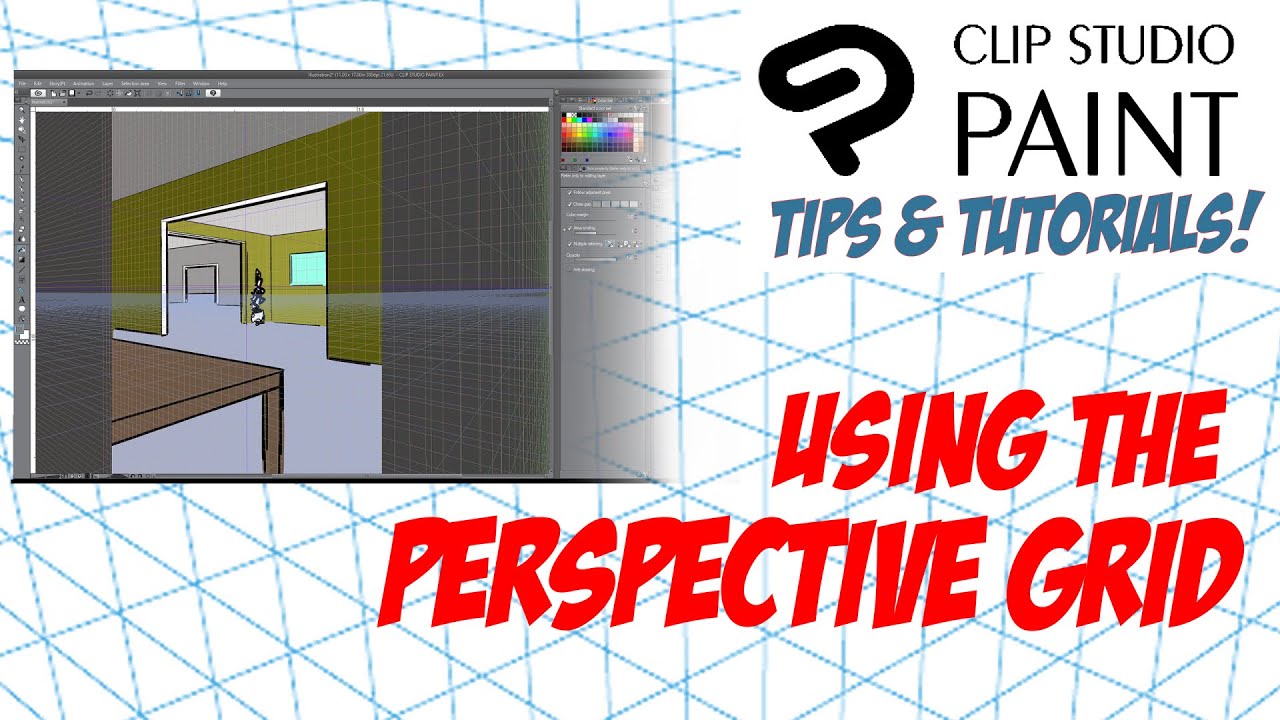
How to use the PERSPECTIVE RULER/GRID in CLIP STUDIO PAINT (EX/PRO) YouTube
To hide or show the ruler bar, select View > Ruler bar. By default, 0 starts at the top left of the canvas, and the ruler unit is mm. You can change the start position using View > Grid/Ruler Bar Settings. You can also adjust the canvas ruler using the Move layer > Move grid sub tool.
How To Make Perspective Grid In Clip Studio Paint Whereintop
Use Clip Studio Paint's 3D object system to quickly place a cube, set a camera angle, and extract a perspective grid.http://www.reubenlara.comInstagram: @reu.

Clip Studio Paint Grid Clip studio paint is a software application for microsoft windows and
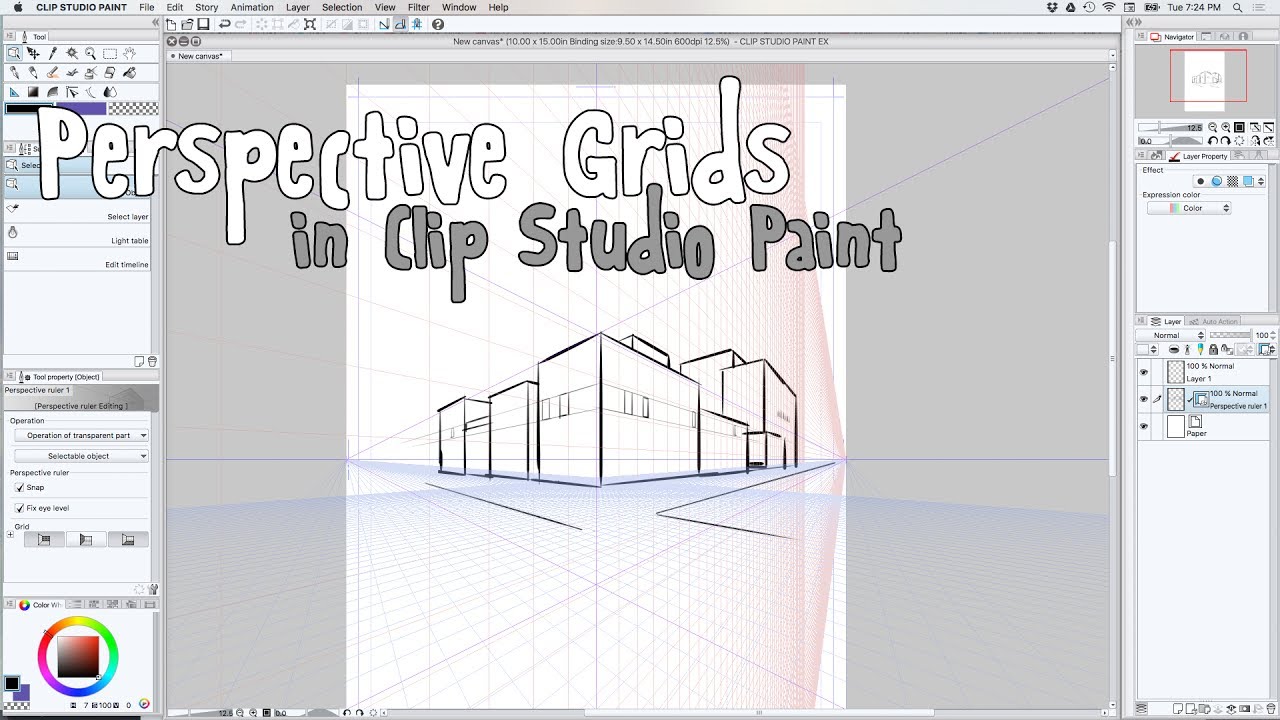
Here's what you need to do: 1. Open your "Layer" menu, choose the "Ruler/Frame" option, and click the "Create Perspective Ruler" button. To begin with you'll want to dive into your "Layer" menu. Within there, find the "Ruler/Frame" option. Find the button that says "Create Perspective Ruler" and click on it. 2.
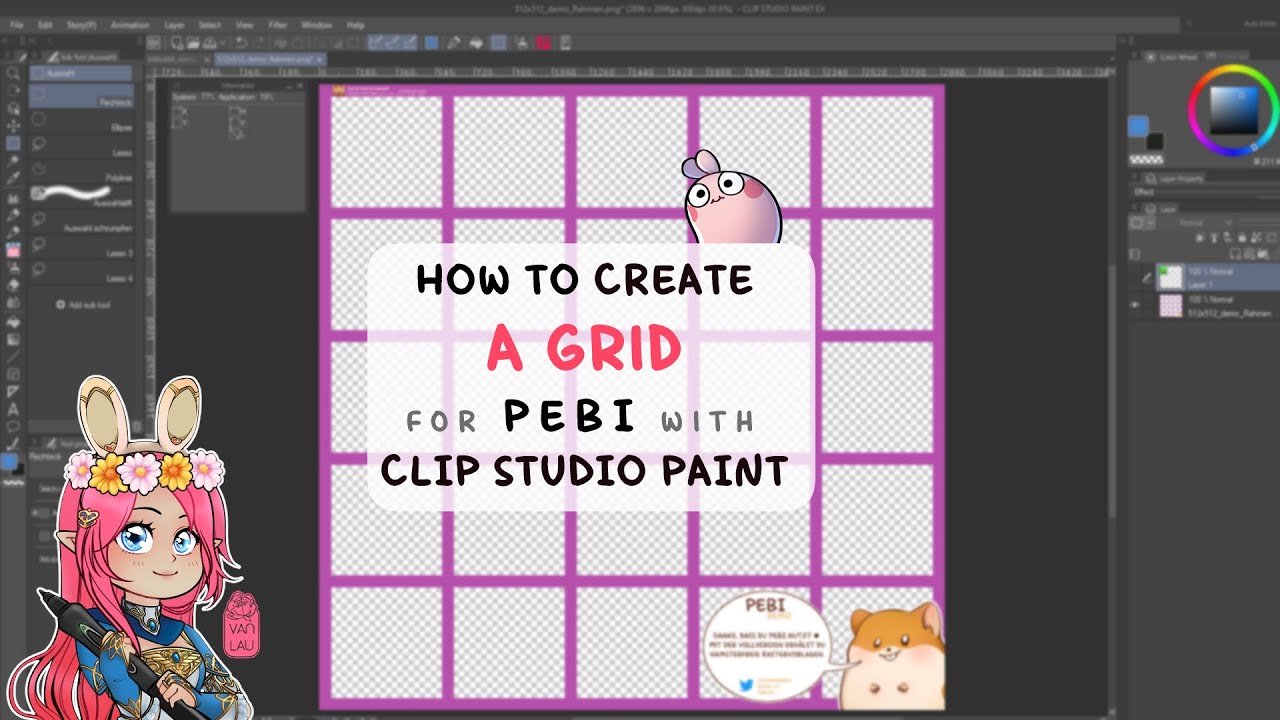
How to create a grid with clip studio ★ Create an emote grid for PEBI YouTube
Clip Studio Paint Perspective Tools Creating Rulers Editing Bonus TIPS My painting Timelapse Intro I will go over some general perspective in drawing. After that, I will jump into Clip Studio Paint to use show you how to use the tools. In the end I will make a drawing using CSP. Horizon Line I used a one-point perspective for these examples.
How To Make Perspective Grid In Clip Studio Paint Whereintop
https://www.youtube.com/playlist?list=PLKKxeZoPg0xgy7DoCaymUxOqLsA6_VJqIis the complete 78-video playlist for this course.You can also join the course on Ude.

Clip Studio Paint Grid Let s dive deeper into clip studio paint with our favorite csp master
28. Free. View more. Clip Studio Paint Free Trial. Make illustrations, manga, comics and animation with Clip Studio Paint, the artist's tool for drawing and painting. All you need for drawing and creating digital art!

Clip Studio Grid Transform The transform property applies a 2d or 3d transformation to an element
This material can be used in Studio Mode. ( What is Studio Mode? ) Translated by. This is a grid for drawing guides. (2m square/10cm mesh) Since it is a wire frame mesh, it is possible to check the size etc. in a transparent state even if the character stands behind. Each grid has a separate object and can be moved independently. This is a grid.
How To Make A Grid In Clip Studio Paint Whereintop
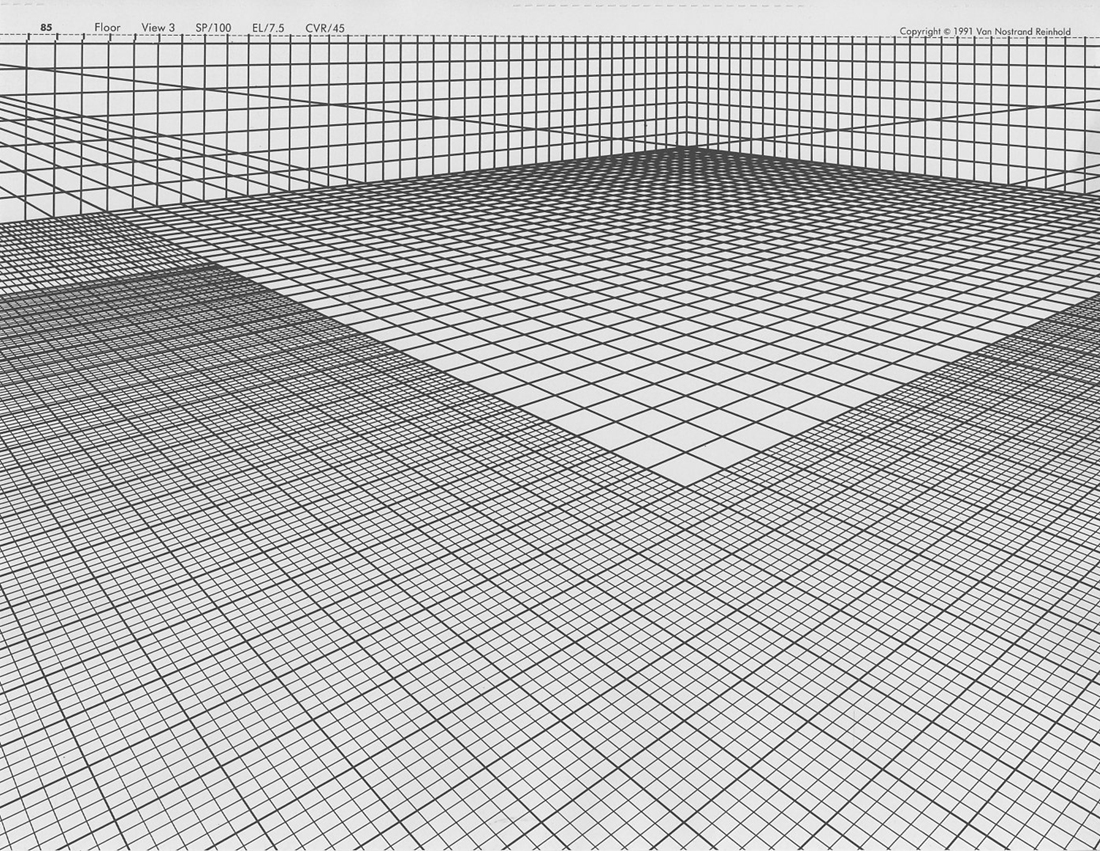
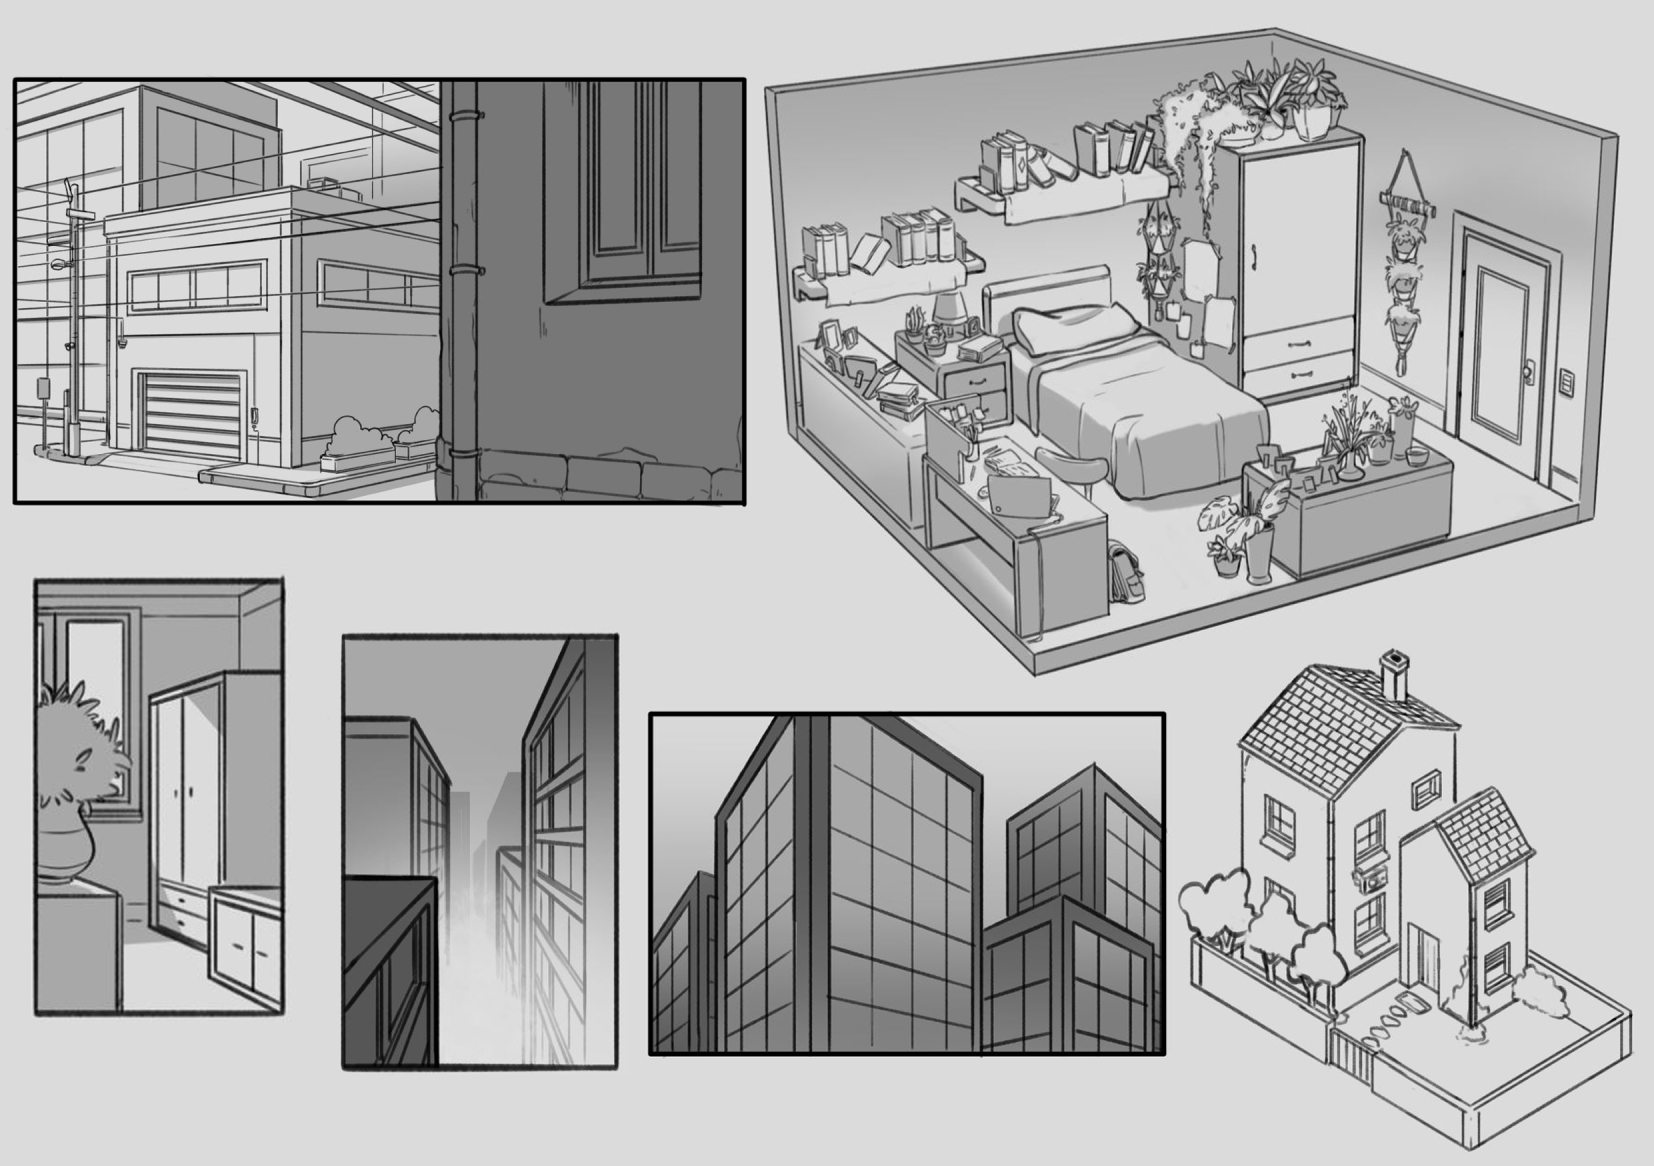
1. First, the size of the desk is decided using the perspective grid. The perspective grid is useful when judging the size difference, distance, etc. of objects. Select the perspective ruler from the [Object] tool, and click three of the buttons of "grid" in the [Tool Property] palette. A perspective grid with equal divisions will be displayed.

Clip Studio Paint Grid Let s dive deeper into clip studio paint with our favorite csp master
How to make a grid in Clip Studio Paint? Go to 'View -> Grid'. A grid should appear right away on your canvas. This is the short answer on how to open up a grid. You can actually customize this grid as you like and need. Also, I mentioned you can find an easy solution to have isometric grids on Clip Studio, so keep reading!
How To Make A Grid In Clip Studio Paint Whereintop
Hi there bunnies,Here is a quick tutorial on how to create your own grid template in CLIP Studio Paint for PEBI (or other grid using programs)What is PEBI?A.
How To Make Perspective Grid In Clip Studio Paint Whereintop
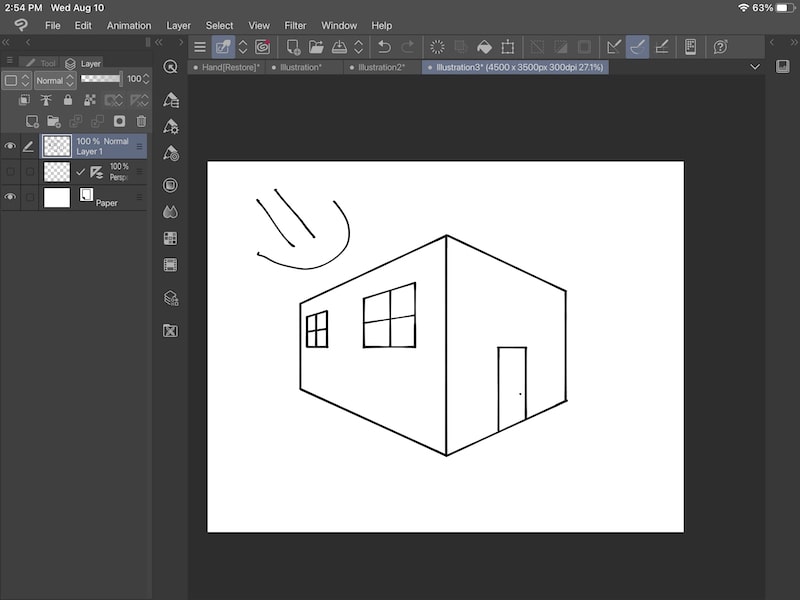
A: Click the wrench icon on the "Tool Property" panel to open the sub tool details. then click Preferences > Rendering Settings. In this rendering settings menu; Uncheck "Set automatically when resetting camera" and set the "Near Plane" value to 1. then "Apply to all models". ----------------------------------------------

Clip Studio Paint Perspective Grid You can have as many point
In this tutorial I show you how to make an isometric grid you can use over and over in clip studio paint.My short film https://youtu.be/dc6nYdPeAsEMy social.
Manga Studio 5 / Clip Studio Paint Grid and Ruler YouTube
Adjusting grid settings In addition to the grid color settings in the system Preferences, there are also grid settings that allow us to change grid divisions.. Get Learn Clip Studio Paint - Second Edition now with the O'Reilly learning platform. O'Reilly members experience books, live events, courses curated by job role,.
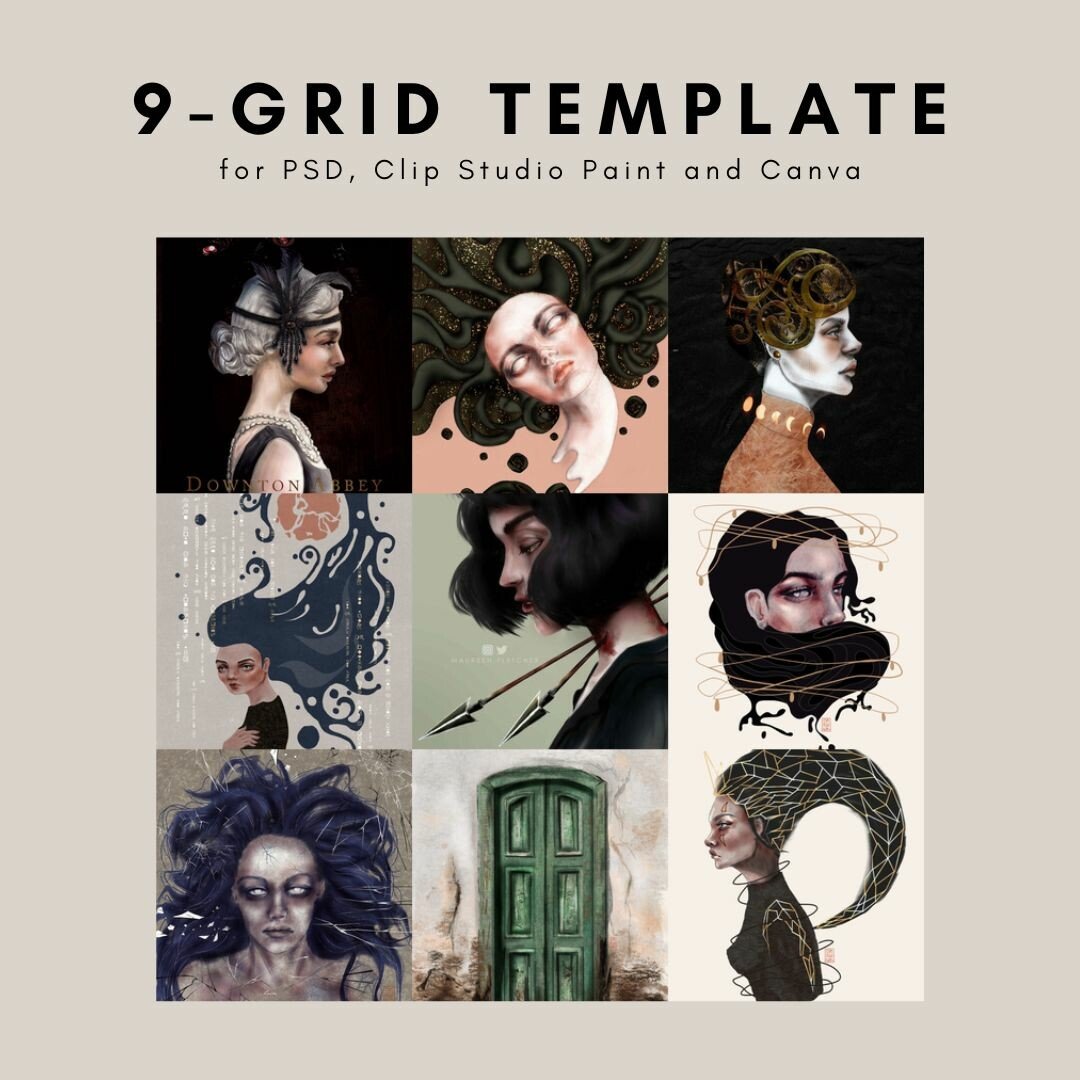
ArtStation 9 Grid Template ( PSD, Clip Studio and Canva compatible ) Artworks
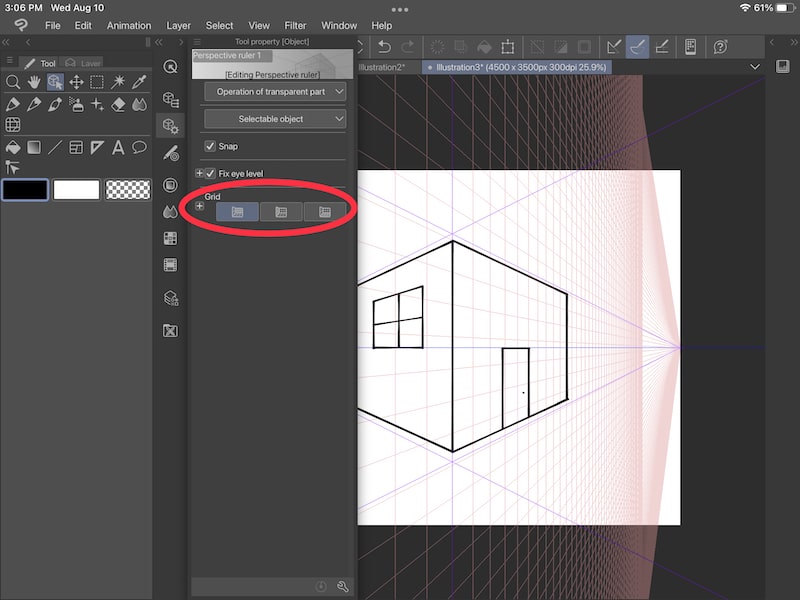
1. Select the Operation tool > Object sub tool. 2. Select the Perspective ruler. 3. Under [Grid] in the Tool Property palette, click the icon to display the grid in the direction you want it to display. Note You can also change the size of the squares using the grid size setting. Was this helpful? Couldn't find an answer to your problem?
How To Make A Grid In Clip Studio Paint Whereintop
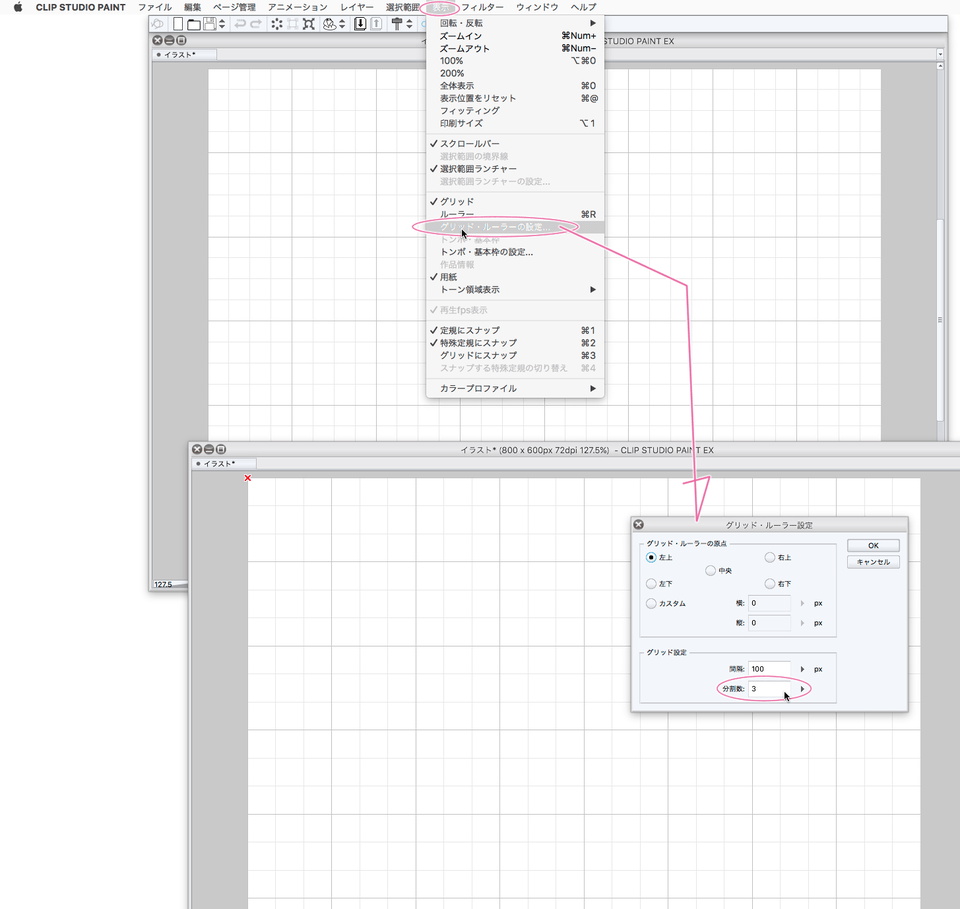
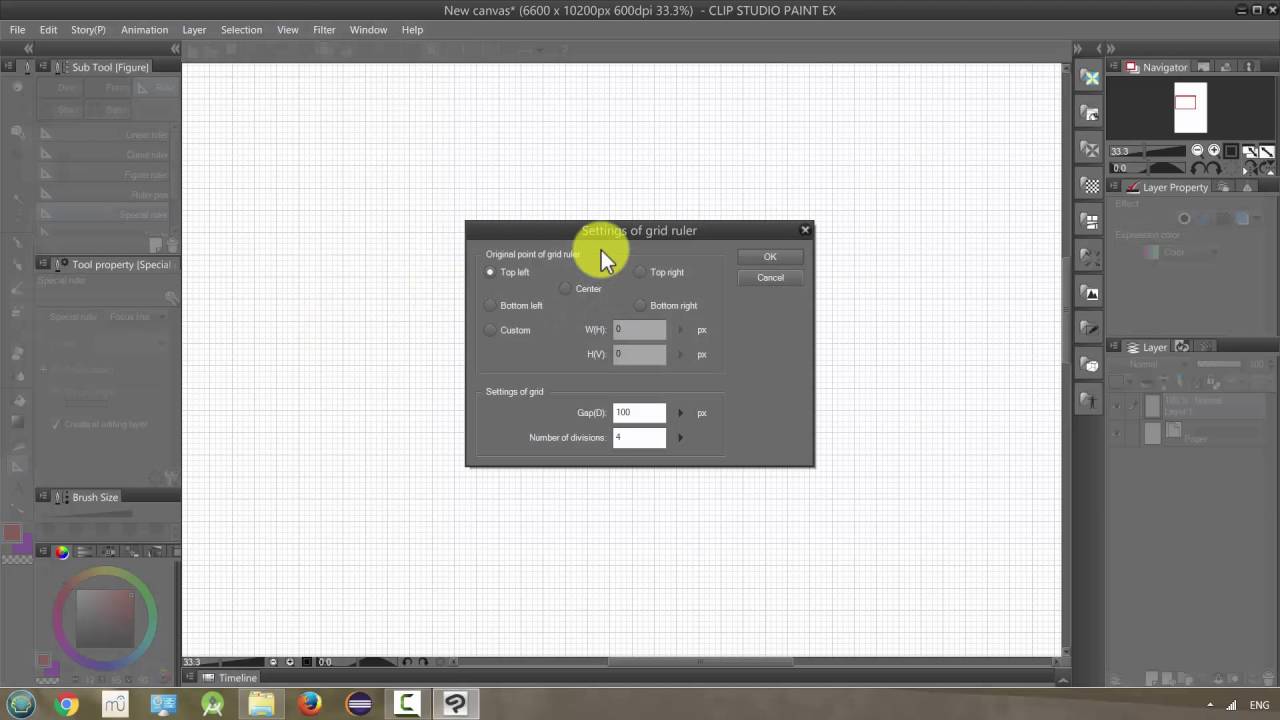
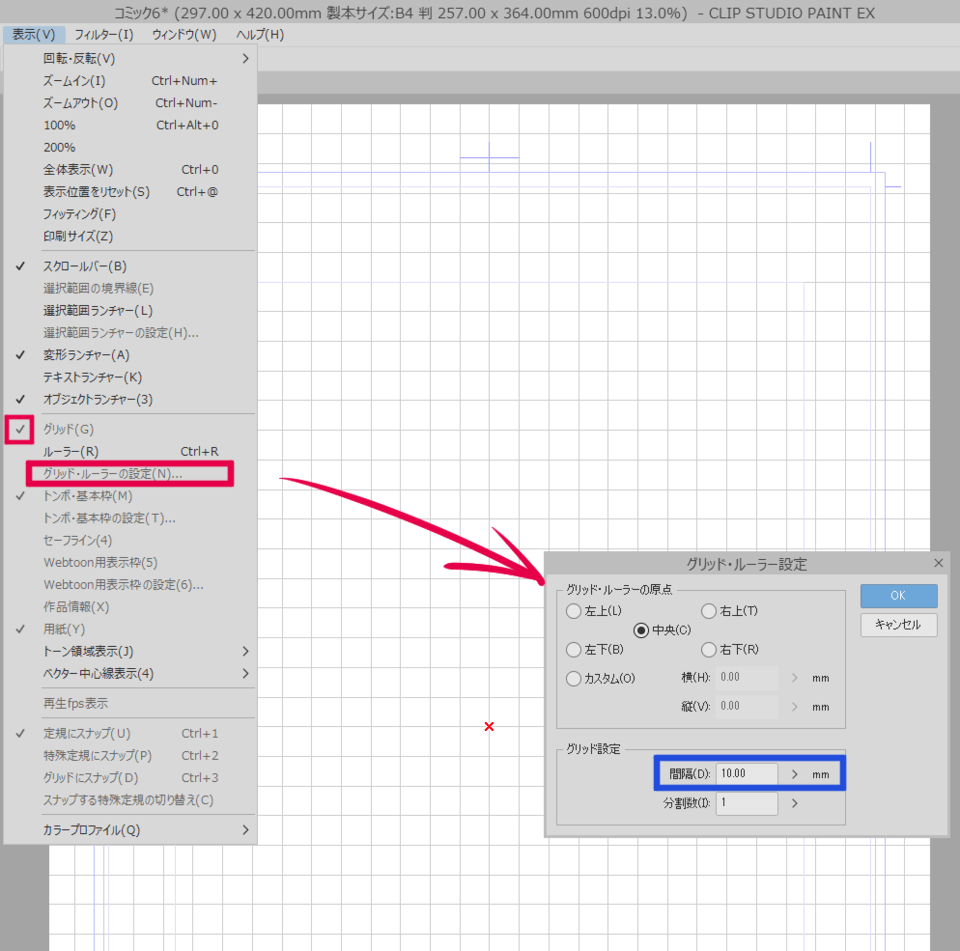
How to Make a Grid in Clip Studio Paint. Go to "view" and select "Grid.". The color and the opacity can be adjusted in the "preferences" dialogue box. Select "ruler/unit" and change the color and thickness accordingly. You can also adjust the grid lines' origin, spacing, and divisions by selecting "Grid/ruler settings" in.
